
Key Takeaways
- The Anycubic Kobra 2 Max offers beginner-friendly features and improved setup optimization, making it a more accessible option for large-format 3D printing.
- It provides a flagship experience for FDM printing, with features like automatic leveling and smart z-offset to maximize print volume.
- While it offers faster print speeds and a large build volume, potential buyers should consider the need for a larger footprint and stable table space.
The Anycubic Kobra 2 Max offers a streamlined way to get larger prints done faster. For those who may have passed on the original Kobra Max, new optimizations have made it an even more inviting option for large-format 3D printing.
However, with its need for a larger footprint and cost, is it worth investing in for your prints?

Anycubic Kobra 2 Max
For fans of the original Anycubic Kobra Max, the Kobra 2 Max attempts to streamline with even more features that make larger volume prints more accessible. Many barriers to entry in the printing process are removed thanks to the easy setup optimization alongside the LeviQ 2.0 automatic leveling and smart z-offset.
For those looking for an easy way to get into quick large-format printing, the Kobra 2 Max offers an improved experience—if you're willing to adapt to a few limitations.
- Brand
- Anycubic
- Build Volume
- ~16.5 x 16.5 x 19.7 inches (420 x 420 x 500 mm)
- Connectivity
- 3 x USB-A ports
- Heated Build Plate
- Yes (≤194F/90°C)
- Feed Type
- Double-gear direct extruder
- Dimensions
- 29.1 x 28.9 x 25.1 inches (740 x 735 x 640 mm)
- Weight
- ~46.3 lbs (21kg)
- Built-in storage removes USB print interruptions
- Faster print speeds
- Large build volume
- Anycubic LeviQ 2.0 49-point auto-leveling (Smart Z-Offset) makes initial set-up easy
- Responsive 4.3'' LCD touchscreen
- Multiple USB ports
- Occasional small bugs and glitches
- Filament detector can be oversensitive
- Needs a large, stable table space
Some Assembly Required

For those looking to quickly print with the Anycubic Kobra 2 Max, the DIY factor is significantly diminished versus the Anycubic Kobra Go, but it won't arrive completely built.
The integrated body structure won't help to learn how a 3D printer works, but it makes for a much less intimidating setup. Despite the limited part assembly, having a partner to help install the gantry frame and the support rods is still advisable.

Once you complete the print head assembly, the smaller attachments, like the LCD screen and filament holder, are even easier. But when you get to the filament run-out sensor, you'll want to make sure it's solidly fitted to ensure there's no potential for snags in the filament loading process.

As typical with the wiring stage, it's a simple push-in process. For first-timers, the print head connection could prove a bit unfamiliar compared to the rest, but if you take a close look at Anycubic's included images, you can match visually how it needs to be fitted.
Once you've secured the cables and filament tube, you'll still want to ensure everything sounds right and movement feels smooth when checking the print head and bed. Similarly, double-checking the belts' feel and tightening as appropriate can save you additional headaches and avoid potential issues like layer shifts.
Anycubic Kobra 2 Max Technical Specifications

Compared to the original Kobra Max, the Kobra 2 Max offers a build volume of 420 x 420 x 500mm (~16.5 x 16.5 x 19.7 inches) versus the original's 400 x 400 x 450mm. To support its 88-liter print volume, potential buyers should remember that the Kobra 2 Max does best on a spacious table that can adequately fit its 29.1 x 28.9 x 25.1 inches and weight of around 46 lbs (21kg).
Beyond improvements to its print volume, the Kobra 2 Max also features greatly improved print speeds. With the Kobra 2 Max, you can print at a maximum of 500mm/s or the more standard printing speed of 300mm/s compared to the 180mm/s (maximum) and 80mm/s (standard) of the original Kobra Max. This has been improved thanks to the on-board Cortex-A7 1.2GHz processor that handles all the necessary calculations.

In addition to its speed, Anycubic has opted for build improvements that result in smoother prints. The Kobra 2 Max features a dual motor, double Z-axis set-up, double metal spindles, and SG15 bearings to support more stable printing.
Additionally, the inclusion of a direct extruder with double gears brings a potential upgrade for those who don't want a Bowden extruder.
In terms of materials, the Kobra 2 Max supports PLA, ABS, PETG, and TPU. The more flexible materials will benefit greatly from a direct extruder.
For ease of set-up, the Kobra 2 Max also features an improved LeviQ 2.0 automatic leveling system with smart Z-offset. When combined with the improved 49-point auto-leveling system, performing a resonance detection with its test vibrations can further prepare for lengthy printing and protect against banding.
While not available during our test window, the Kobra 2 Max will also include support for the Anycubic app. With this, users can access online printing and slicing, remote management, video monitoring, and more.
Operating the Kobra 2 Max's Touchscreen

The Kobra 2 Max uses a full-color 4.3-inch touchscreen. When you're ready to start your first print, the machine will lead you through a simple set-up process that involves inserting the included USB drive, detecting each axis, auto-leveling, filament loading, and resonance detection. This fully-prompted measure is meant to get you as ready as possible for a successful first print, and couldn't be easier for a beginner.

Once you've passed the initial set-up, you can start printing from a small selection of test models on the Kobra 2 Max's local storage. As everything heats up, there's plenty of time to tap through all the settings and get an initial feel for the touchscreen's responsiveness. It's worth doing a few test prints first before diving into a slicer, so you can feel the difference in results between the stable, standard, and sport print speeds while also checking and fine-tuning the Z-offset (how far the print head is from the bed, which determines the first layer "squish").
Overall, it's all quite responsive to the touch; the stop button works responsively should anything go wrong.

Once you've transferred the g-code to your USB stick, the Kobra 2 Max will copy it to the local storage of the printer. While you'll want to keep an eye on the storage space over time, it's quite easy to delete them as needed. It's a minor feature, but helpful when repeating prints without the need for the original USB drive.
Anycubic Slicer

Ultimaker Cura wasn't ready as a slicing software option during our test window. Instead, we used AnycubicSlicer—a custom version of PrusaSlicer.
Saving and working on projects between the two slicers would sometimes result in incorrect print settings being transferred over in the exported code, so the majority of our testing was spent in one or the other to see if there were any heavy distinctions. As typical with Anycubic's software, their version feels a little more basic and simplified, but the overall process and setting tweaks felt nearly identical.
If you're working with models that won't need as much heavy customization or prep work in terms of supports, you'll find Anycubic Slicer to be sufficient. But regardless of which slicer you'll pick, you'll want to look for Anycubic's suggested parameters profiles and import them into either slicer. From there, it's much easier to tweak and customize your settings based off your familiarity level.
Printing With the Kobra 2 Max

Once you're ready to print your own models, is there anything to look out for with the Kobra 2 Max?
For those looking to capitalize on the speed of the Kobra 2 Max, you'll want to have a very sturdy table that's not going to wobble. Even the standard printing speed of the Kobra 2 Max can still move lighter tables over time; I found my best result using a longer, heavier lift desk. Just remember, if you're moving the printer around to find whether it best works, you should rerun the vibration compensation.
To test the Kobra 2 Max's printing capabilities, I tried out both Anycubic's high-speed PLA filament and neat-winding PLA. Both feature very similar specifications with a small difference in print temperature and hotbed temperature suggested ranges. The high-speed PLA offers a brighter surface and improved base print visibility on some models, but the overall print quality didn't highly differ between the two filaments.

Overall, you'll find it to be a solid experience if you've fine-tuned your settings and monitor it during the printing process. Occasionally, the filament run-out sensor will prove too sensitive and abruptly stop mid-print, even if plenty is still available. If you do run into this error, it can waste a lot of time until you notice it; it can also be avoided if you disable filament detection from the touchscreen before a print starts (though this somewhat defeats the point of having the sensor in the first place).
In practice, I tested different 1kg filament spools, so I eventually disabled the sensor whenever starting on a new one. Otherwise, the run-out sensor proved more of a detriment during that process due to the interruption of the print process, especially since it'd typically crop up during the final stages of a print. If you're looking to use the last bits of filament or anticipate running out mid-print, it's a useful addition; you'll want to figure out your best use case.

Sizable Prints on the Kobra 2 Max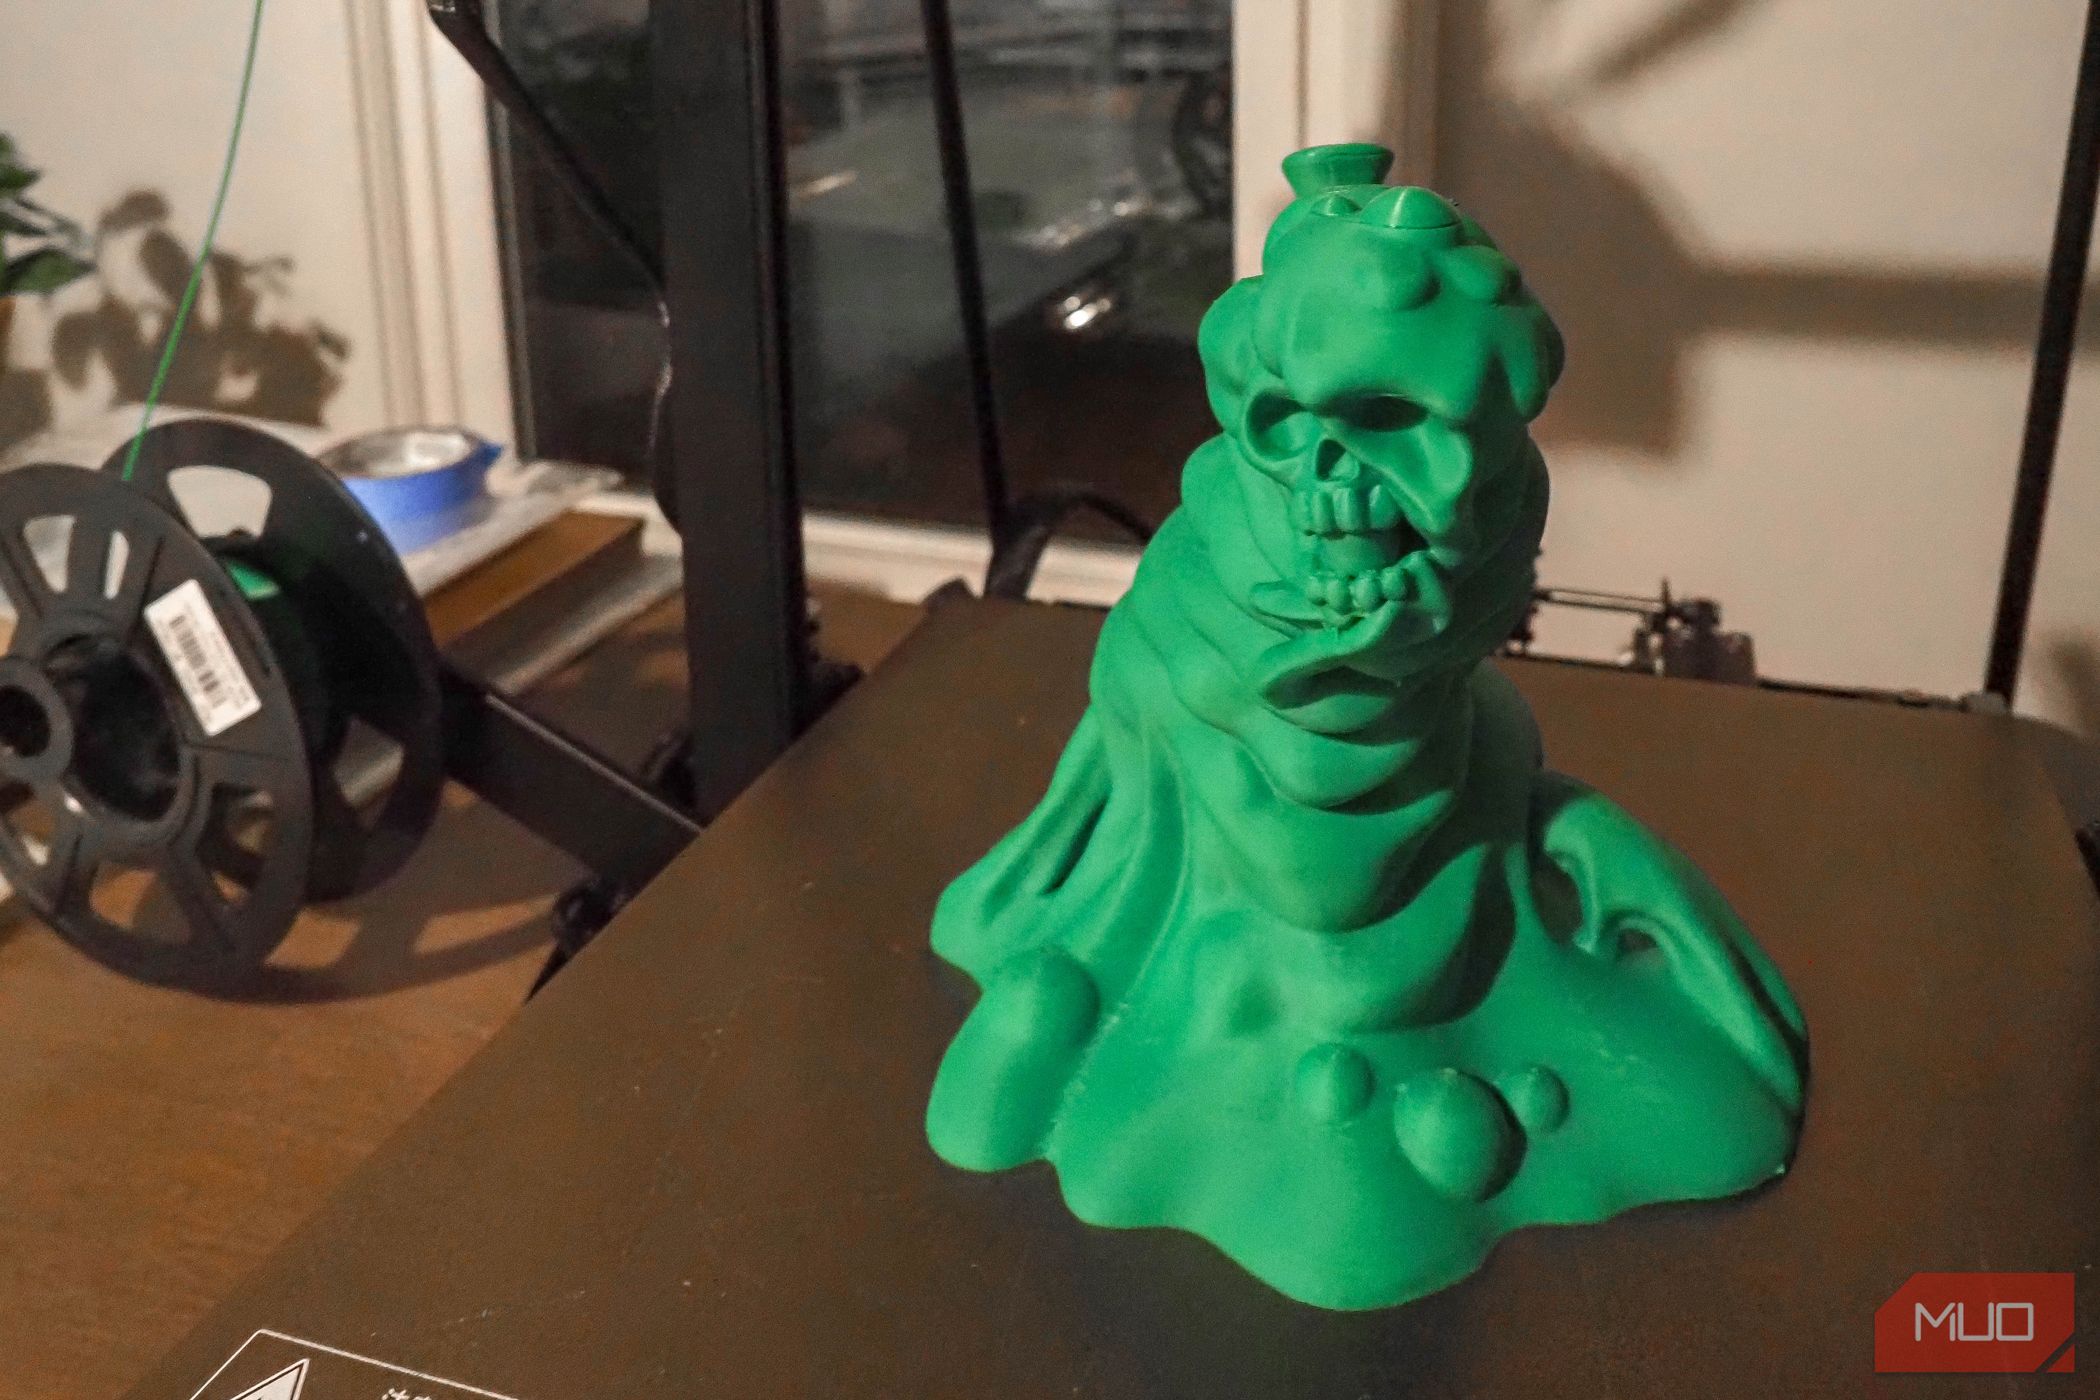
With a larger print volume available, there are plenty of practical applications for an FDM printer as you attempt to maximize space options. A 0.4mm diameter nozzle is included; this allows for cleaner, more precise details as a more standard choice. As a replaceable option, you may wish to consider investing in a larger nozzle size if you want to print even faster, albeit with some degradation in detail.
As the Kobra 2 Max already offers improved print speeds, this may appeal to those less concerned with print quality perfection, as even some moderately-sized prints can take over a day at the standard speed preset. Depending on exactly on what you're printing and how much time you have to monitor the Kobra 2 Max, it's a detail to weigh against your schedule.

Print Removal and Clean-Up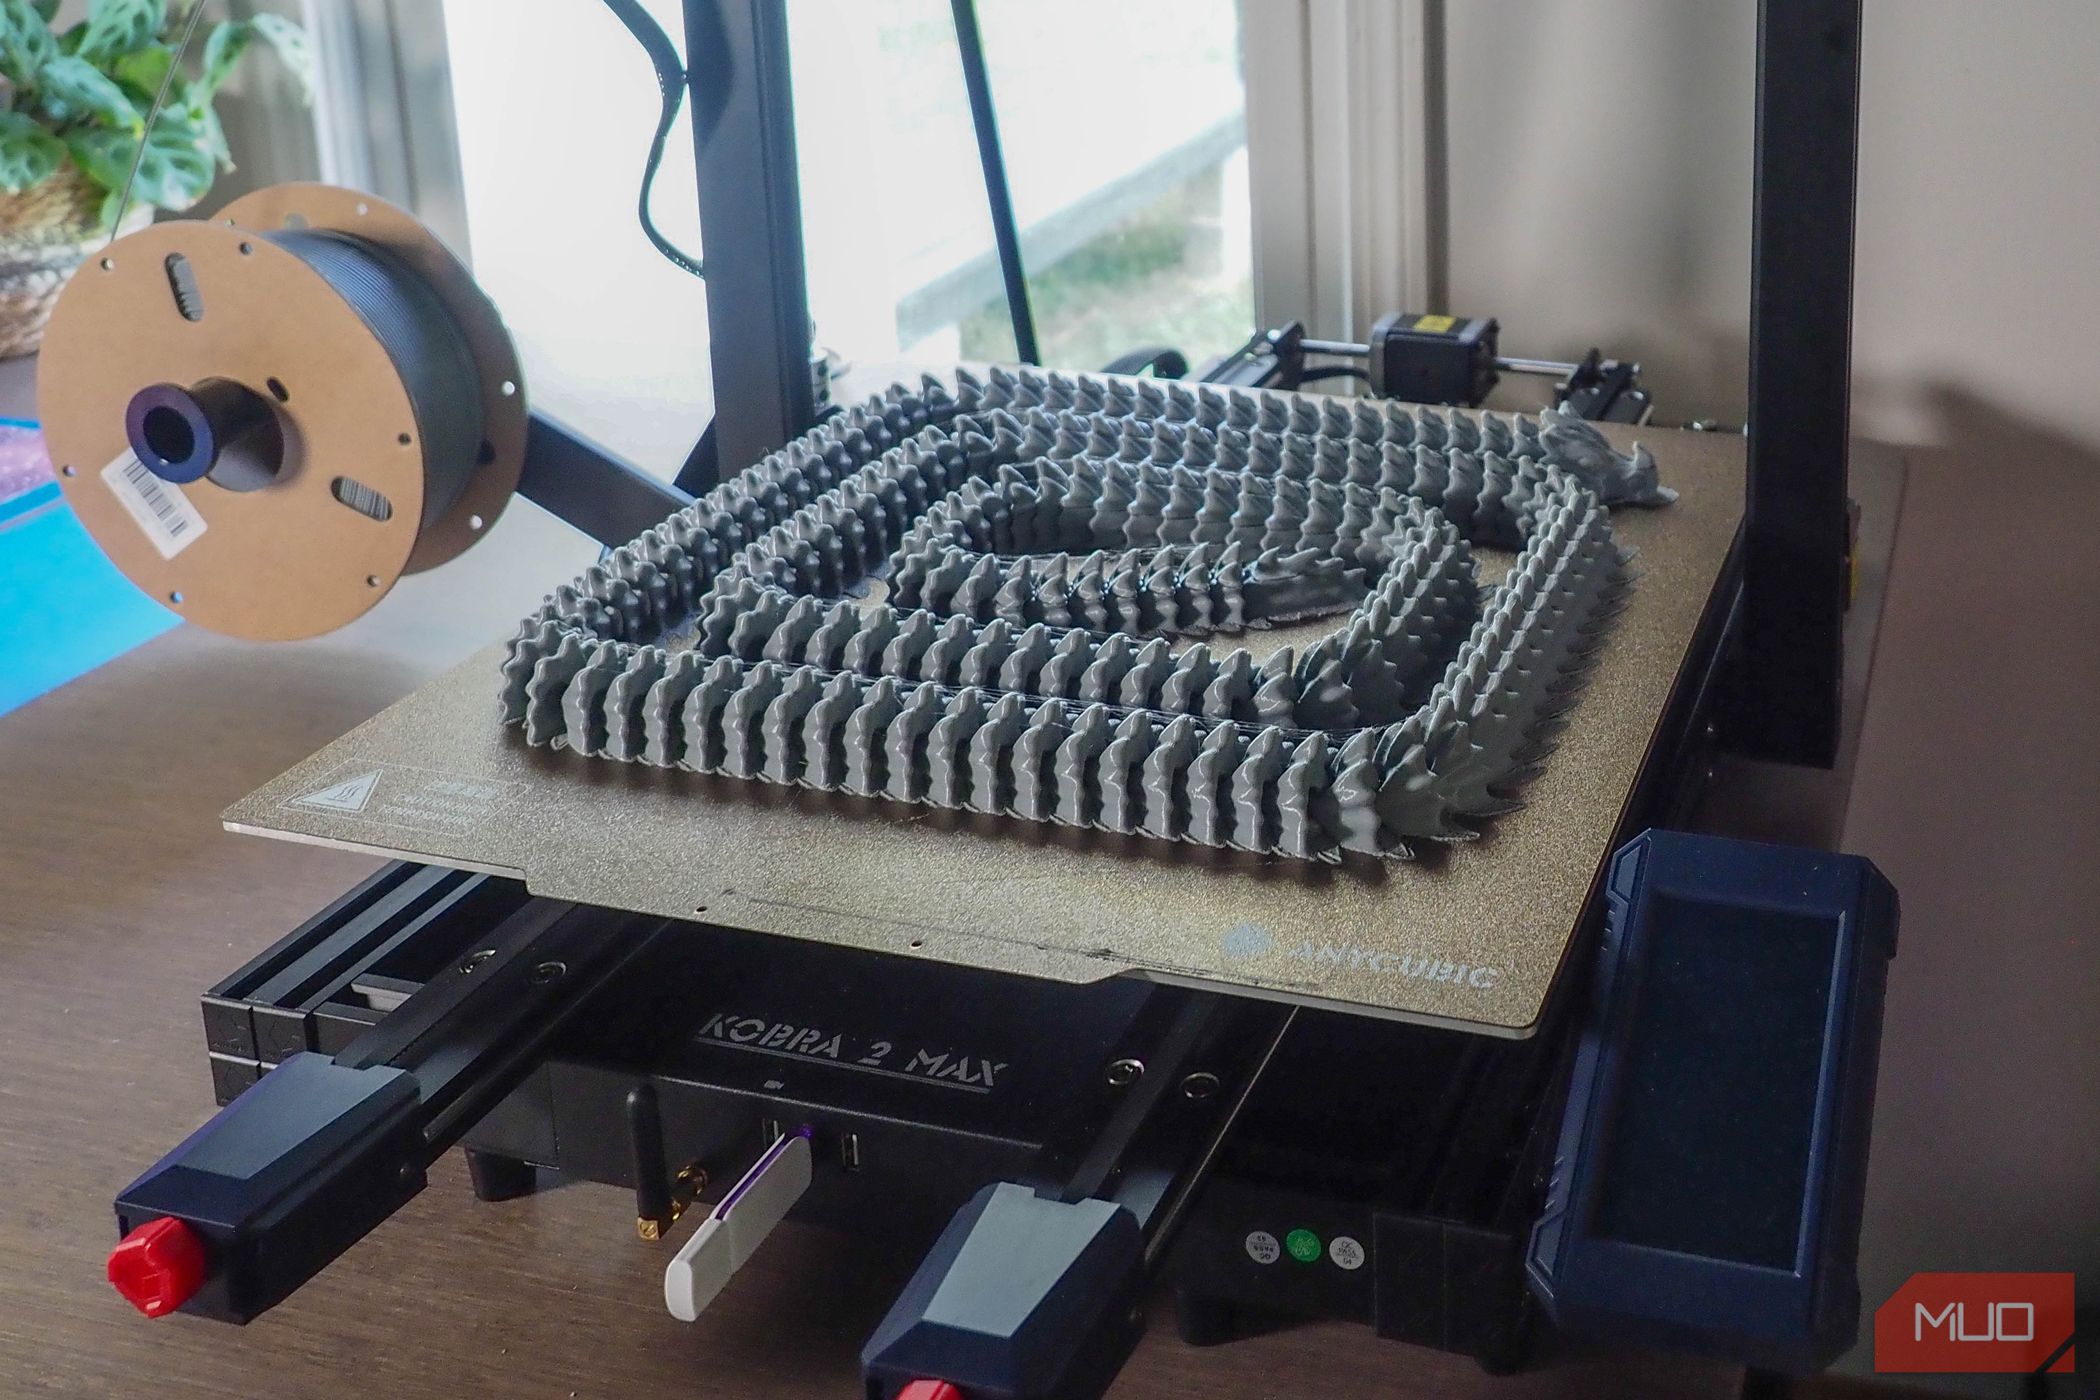
Once you've finished your print, removing it for clean-up is easy. Rather than another glass printing platform, the Kobra 2 Max uses a PEl magnetic spring steel bed. This greatly simplifies the actual print removal if you need to precisely pull off a large object or remove thinner bits of filament.
Depending on your chosen nozzle and print settings, you'll likely need to clean up your print. While the Kobra 2 Max comes with a small tool set, you'll want to consider some sanding options in the form of blocks or specialized model tools. Additionally, some precision needle nose pliers or clippers can help you pull off and remove supports if you're willing to experiment more with the current slicing options.

Should You Buy the Anycubic Kobra 2 Max?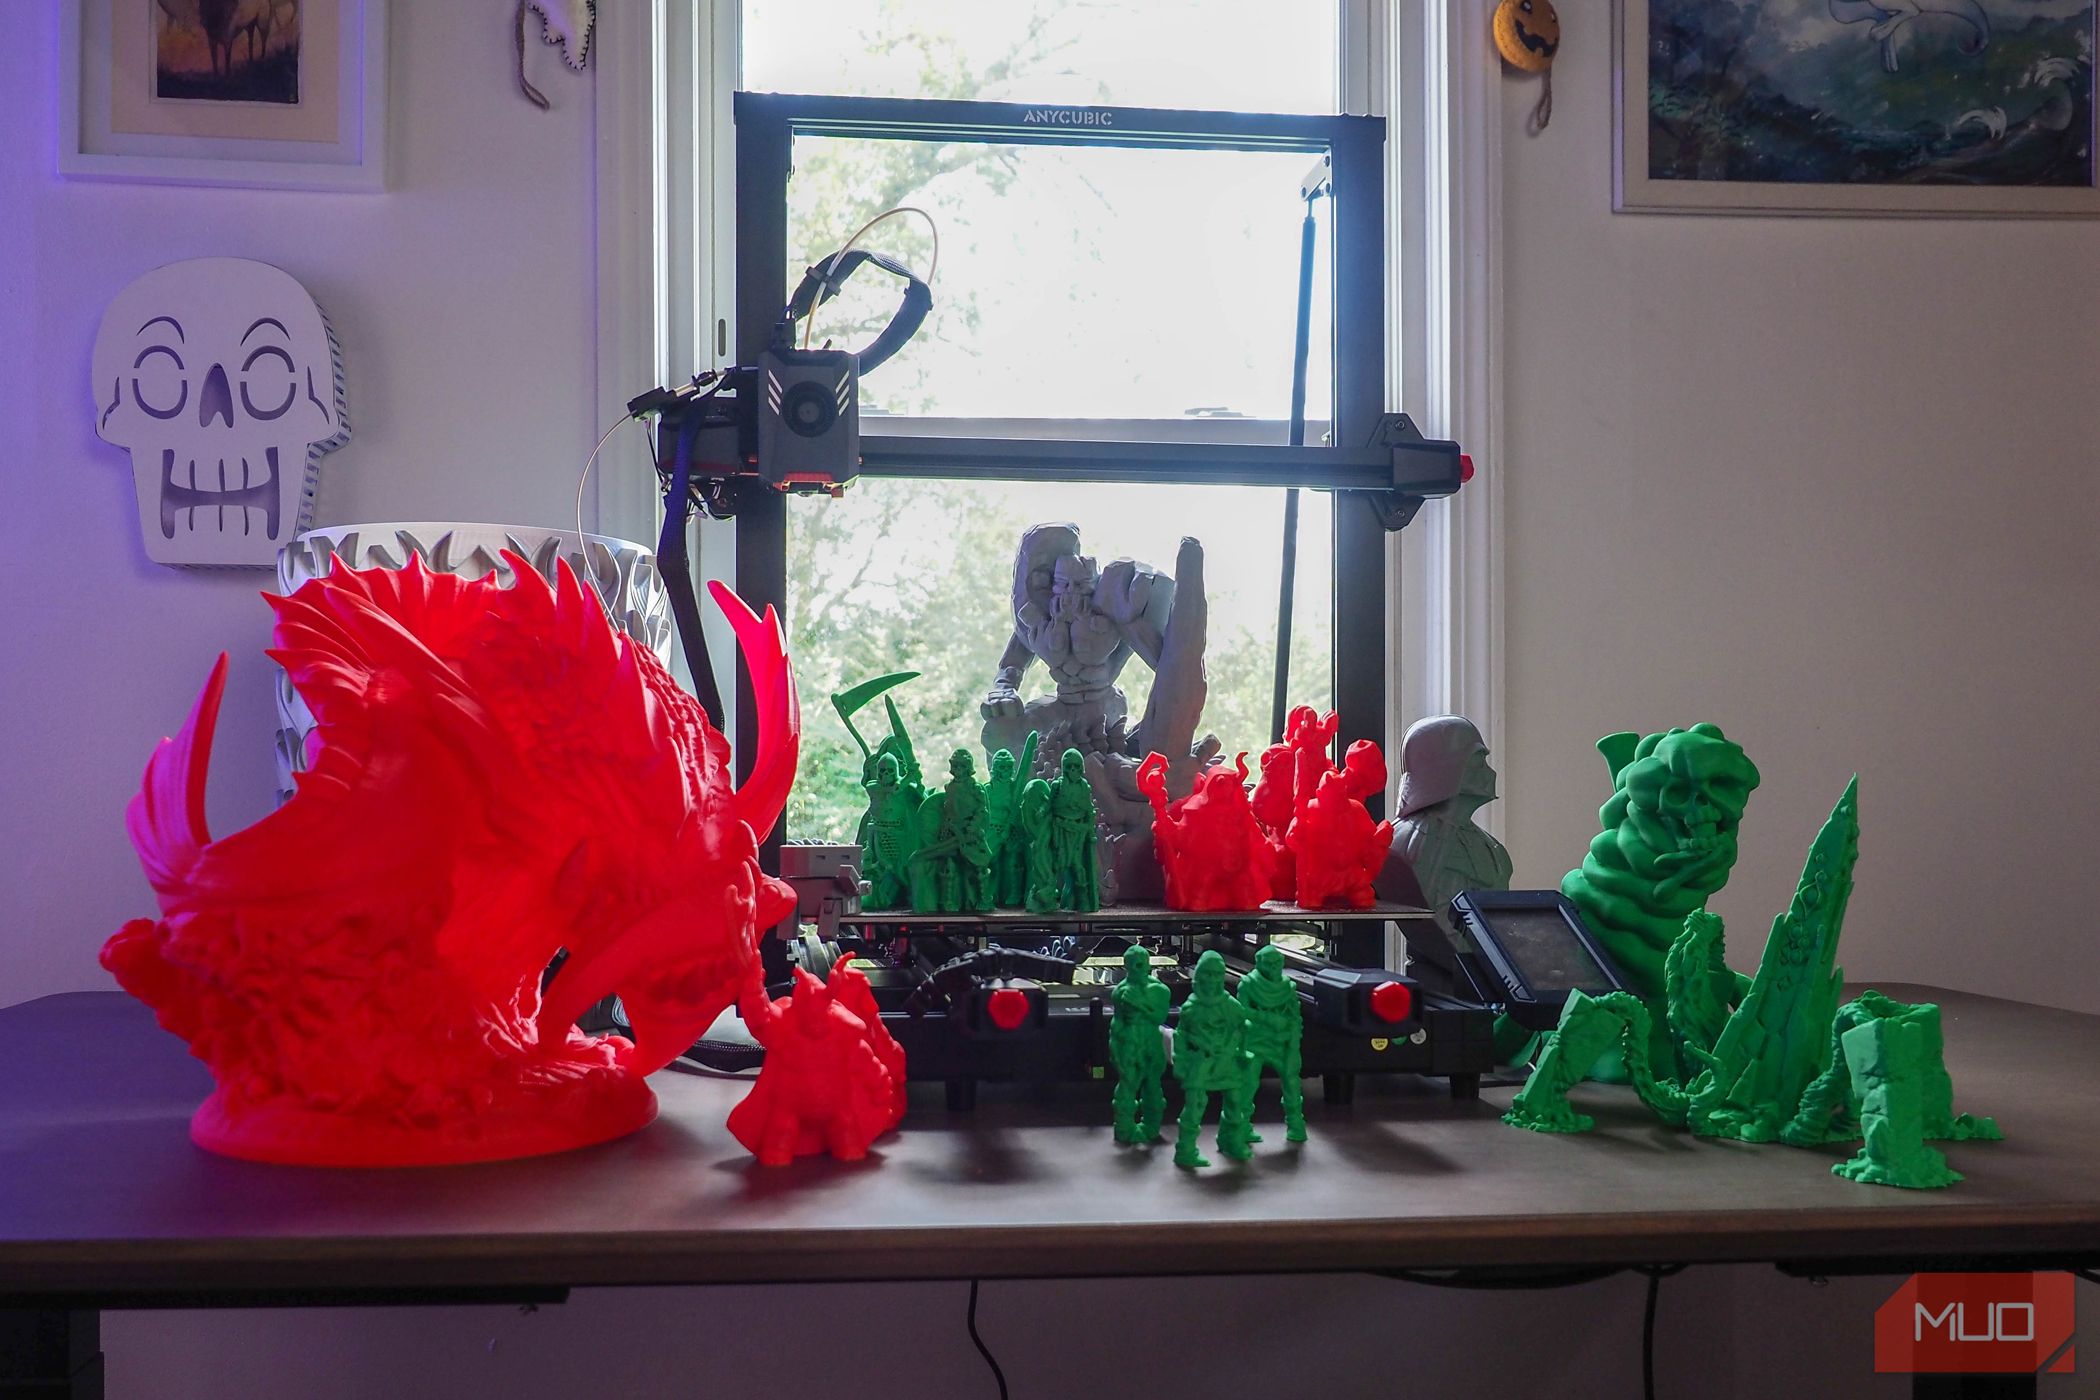
Your primary consideration should be how big a print you're after. The Kobra 2 Max is ideal if you need larger print sizes, but can fulfill both small and big print tasks with the 0.4mm nozzle as long as you can devote the required space and sturdy table space.
Overall, the Kobra 2 Max offers a variety of printing benefits, and it's slated to offer even more improvements as support for it expands. If you want to push the limits of the FDM printing space and are looking for sizable prints or prototypes, it can deliver an excellent experience.
If you want a flagship 3D large-format printer without a ton of mess, the Kobra 2 Max should definitely be considered.
Anycubic Kobra 2 Max
For fans of the original Anycubic Kobra Max, the Kobra 2 Max attempts to streamline with even more features that make larger volume prints more accessible. Many barriers to entry in the printing process are removed thanks to the easy setup optimization alongside the LeviQ 2.0 automatic leveling and smart z-offset.
For those looking for an easy way to get into quick large-format printing, the Kobra 2 Max offers an improved experience—if you're willing to adapt to a few limitations.